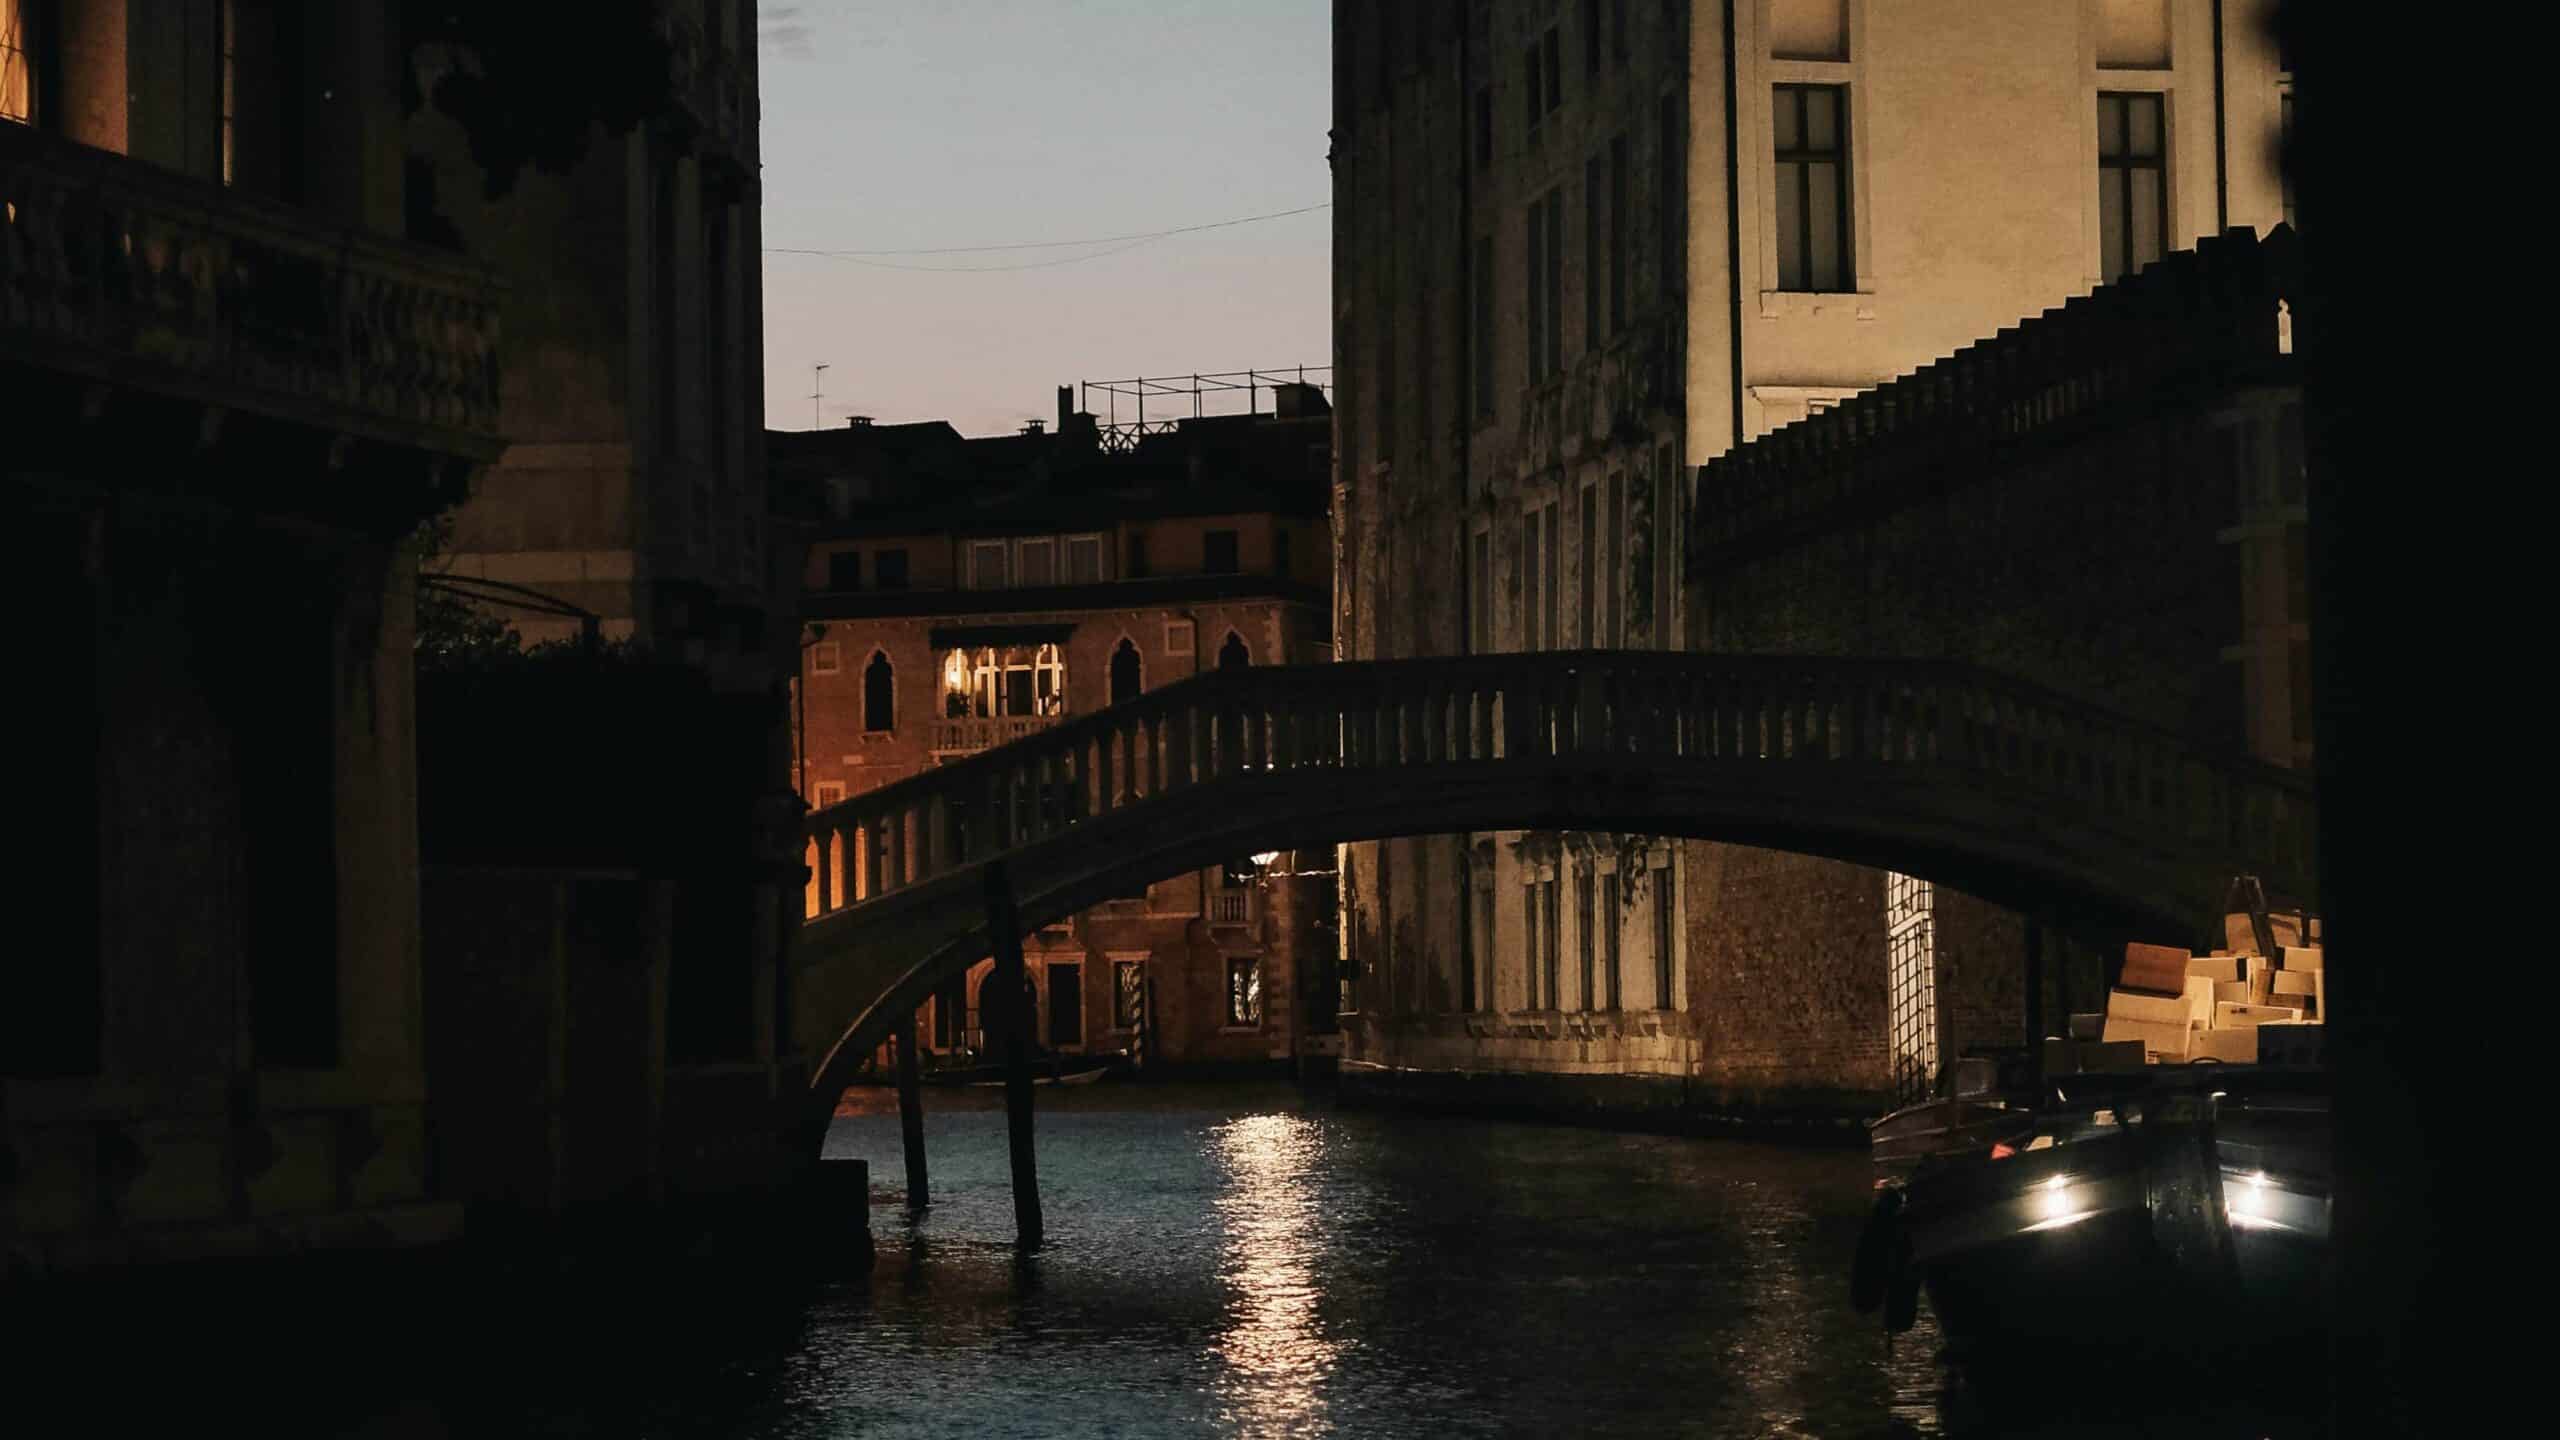
Nighttime photography is a magical realm that opens up new creative possibilities for photographers. The world transforms under the cover of darkness, revealing scenes and details that go unnoticed during the day. Capturing these scenes, however, presents unique challenges. This guide will provide you with essential tips and techniques to elevate your nighttime photography skills.
Table of Contents
Understanding the Basics of Nighttime Photography
Before diving into the tips, it’s important to understand the fundamental differences between daytime and nighttime photography. The most significant difference is the amount of available light. During the day, you have an abundance of natural light, while at night, you rely on artificial light sources or moonlight. This lack of light requires adjustments in your camera settings and technique.
Equipment Essentials
- Camera with Manual Mode: A camera that allows you to manually adjust settings such as shutter speed, aperture, and ISO is crucial for nighttime photography.
- Tripod: Since long exposure times are often necessary, a sturdy tripod is essential to prevent camera shake.
- Remote Shutter Release: This helps to avoid camera shake when pressing the shutter button.
- Fast Lenses: Lenses with wide apertures (f/2.8 or wider) allow more light to hit the sensor, making them ideal for low-light conditions.
- Extra Batteries and Memory Cards: Long exposure shots can drain your battery quickly, and you’ll likely be taking many photos to get the perfect shot.
Tips for Capturing Sunning Night Photos
1. Master Manual Settings
Night photography requires you to take control of your camera settings. Automatic modes struggle in low-light conditions, so switch to manual mode.
- Aperture: Use a wide aperture (low f-stop number) to allow more light into the camera. This also helps create a shallow depth of field, which can add a pleasing bokeh effect to your images.
- Shutter Speed: Long exposures are often necessary. Start with a shutter speed of 10-30 seconds and adjust as needed.
- ISO: Use the lowest ISO possible to reduce noise. Start with ISO 800 and increase only if necessary.
- Focus: Autofocus struggles in low light. Switch to manual focus and use live view to zoom in and achieve sharp focus.
2. Use a Tripod
A tripod is non-negotiable for night photography. Long exposure times mean even the slightest movement can result in a blurry image. Set up your tripod on a stable surface and ensure it’s secure.
3. Experiment with Long Exposures
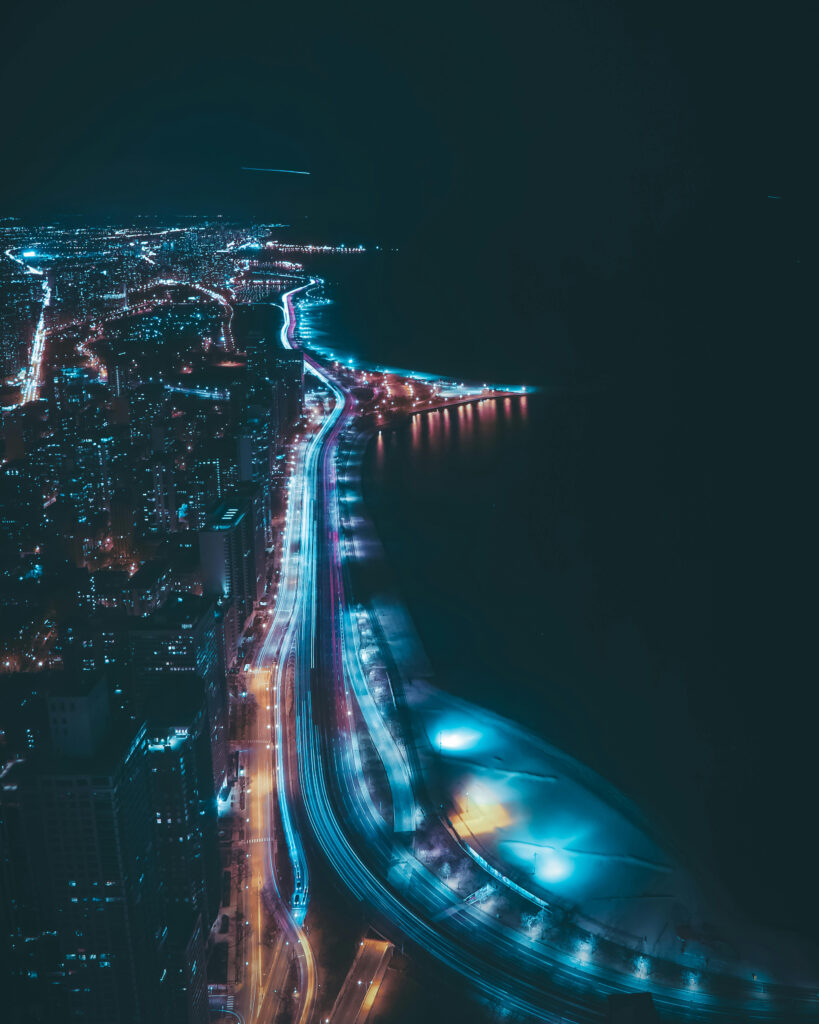
Long exposures can create stunning effects at night, such as light trails from cars, star trails, or smooth reflections in water. Start with a 15-30 second exposure and adjust based on the scene.
4. Play with Light Painting
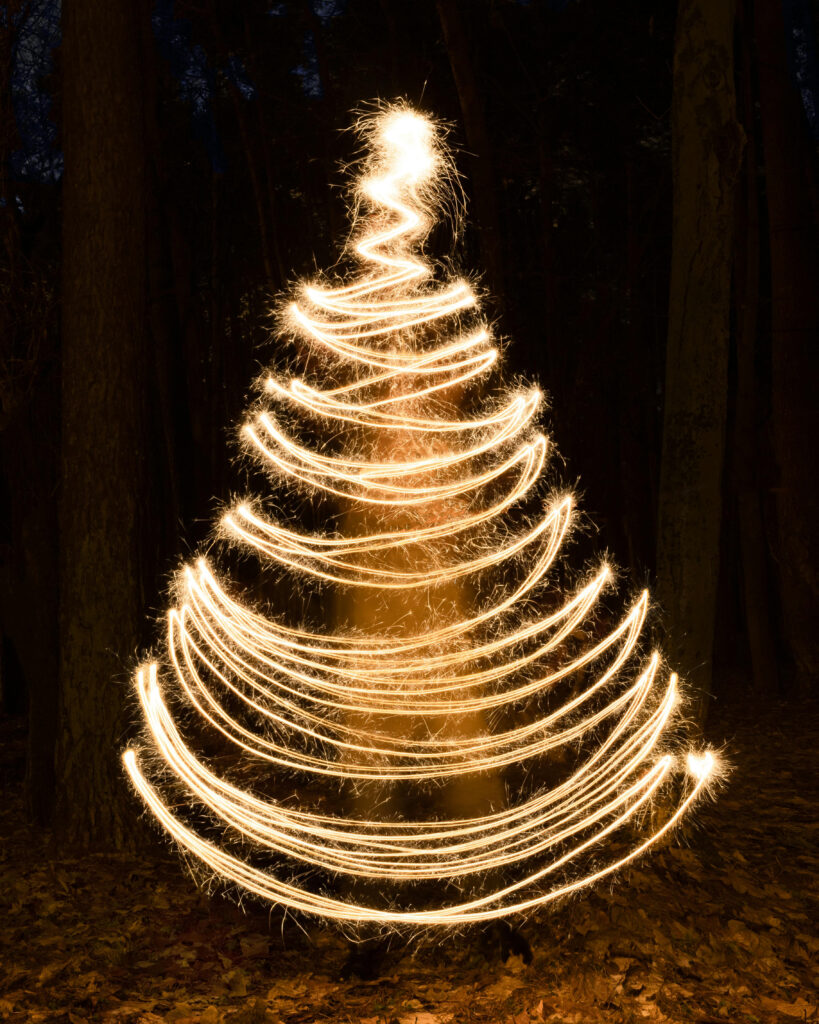
Light painting involves using a light source to ‘paint’ in your scene while the shutter is open. This technique can add interesting and creative elements to your photos. Use a flashlight, LED light, or even your phone’s screen to experiment.
5. Capture the Night Sky
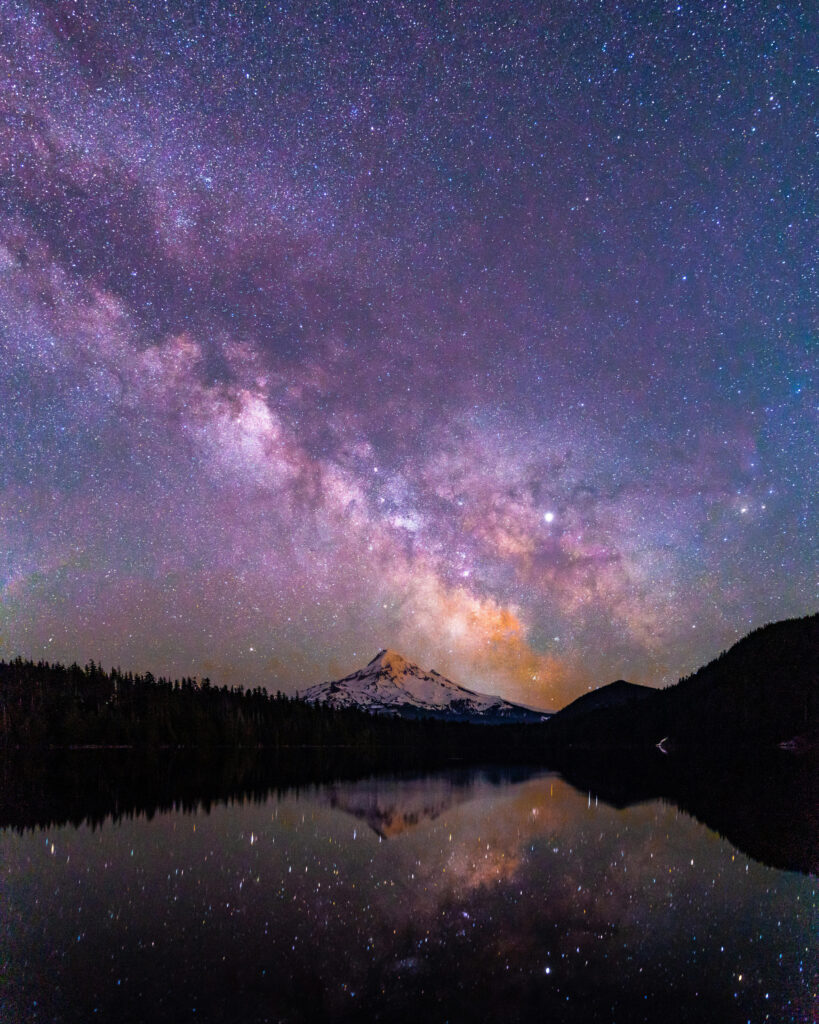
Astrophotography is a fascinating subset of night photography. To capture stars or the Milky Way, use a wide aperture, high ISO (1600-3200), and a shutter speed between 10-30 seconds. Keep in mind the 500 rule: divide 500 by the focal length of your lens to avoid star trails.
6. Incorporate Urban Elements
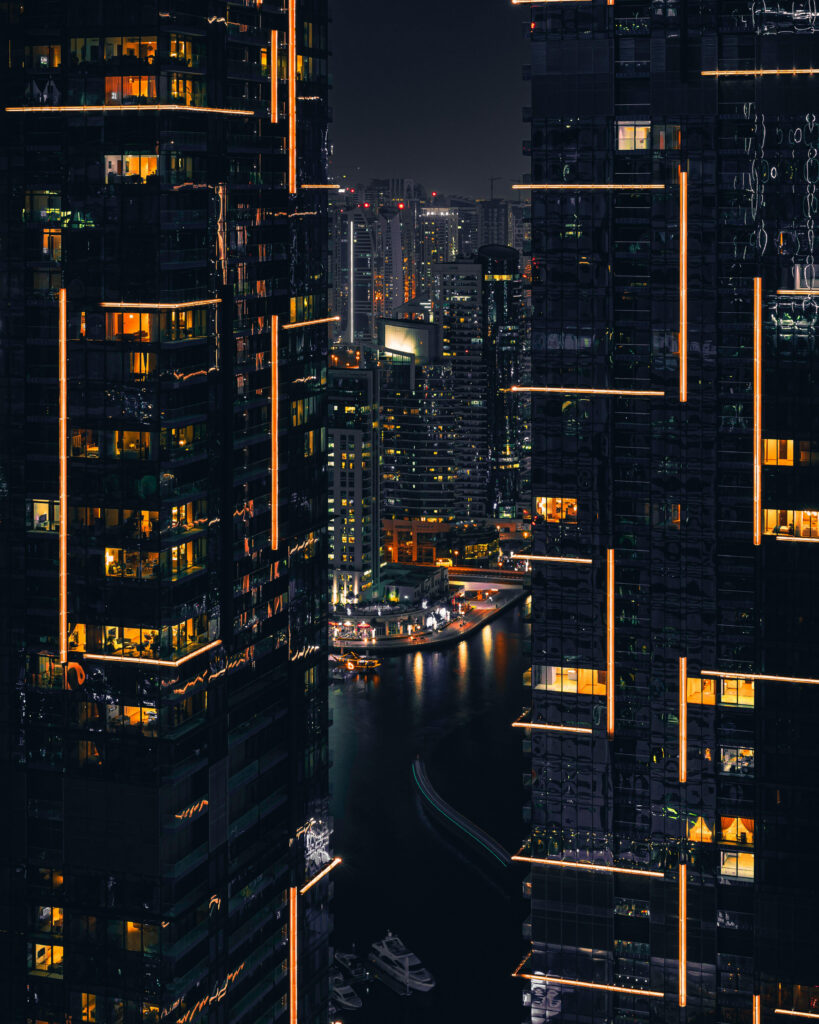
Cityscapes offer an abundance of light sources, from streetlights to illuminated buildings. Use these elements to your advantage. Look for reflections, leading lines, and contrasts between light and shadow.
7. Use a Remote Shutter Release
To prevent camera shake, use a remote shutter release or the camera’s built-in timer function. This ensures your camera remains perfectly still during long exposures.
8. Embrace Noise Reduction
Long exposures and high ISO settings can introduce noise into your images. Use your camera’s noise reduction feature and consider post-processing software like Adobe Lightroom or Photoshop to clean up your images.
9. Experiment with Different Light Sources
Don’t limit yourself to natural or ambient light. Experiment with different light sources such as neon signs, headlights, or even handheld LED lights. These can add unique colors and effects to your photos.
10. Shoot in RAW Format
Always shoot in RAW format for night photography. RAW files retain all the data captured by your camera’s sensor, giving you greater flexibility in post-processing. You’ll be able to adjust exposure, white balance, and reduce noise more effectively.
Post-Processing Tips for Nighttime Photography
Nighttime photos often require post-processing to bring out their full potential. Here are some tips to enhance your images:
1. Adjust Exposure and Contrast
Increase the exposure slightly if your image is too dark. Adjust contrast to add depth and make your photo pop. Be careful not to overdo it, as this can introduce noise.
2. Correct White Balance
Streetlights and other artificial lights can cast an unnatural color over your photos. Adjust the white balance to achieve a more natural look. Use the temperature and tint sliders in your editing software.
3. Reduce Noise
Even with the best settings, some noise is inevitable in night photography. Use noise reduction tools in Lightroom or Photoshop to clean up your images without losing detail.
4. Enhance Colors and Details
Boost the vibrancy and saturation to make the colors in your photo stand out. Use clarity and sharpening tools to bring out the details, but be cautious not to over-sharpen.
5. Experiment with Black and White
Night photos often look striking in black and white. Converting your image can eliminate distracting colors and focus on the composition and contrast.
Final Thoughts
Nighttime photography is a rewarding and challenging pursuit. By mastering your camera settings, using the right equipment, and experimenting with different techniques, you can capture stunning images that showcase the beauty of the night. Remember to be patient and practice often – the perfect shot might take time, but the results are worth it.


