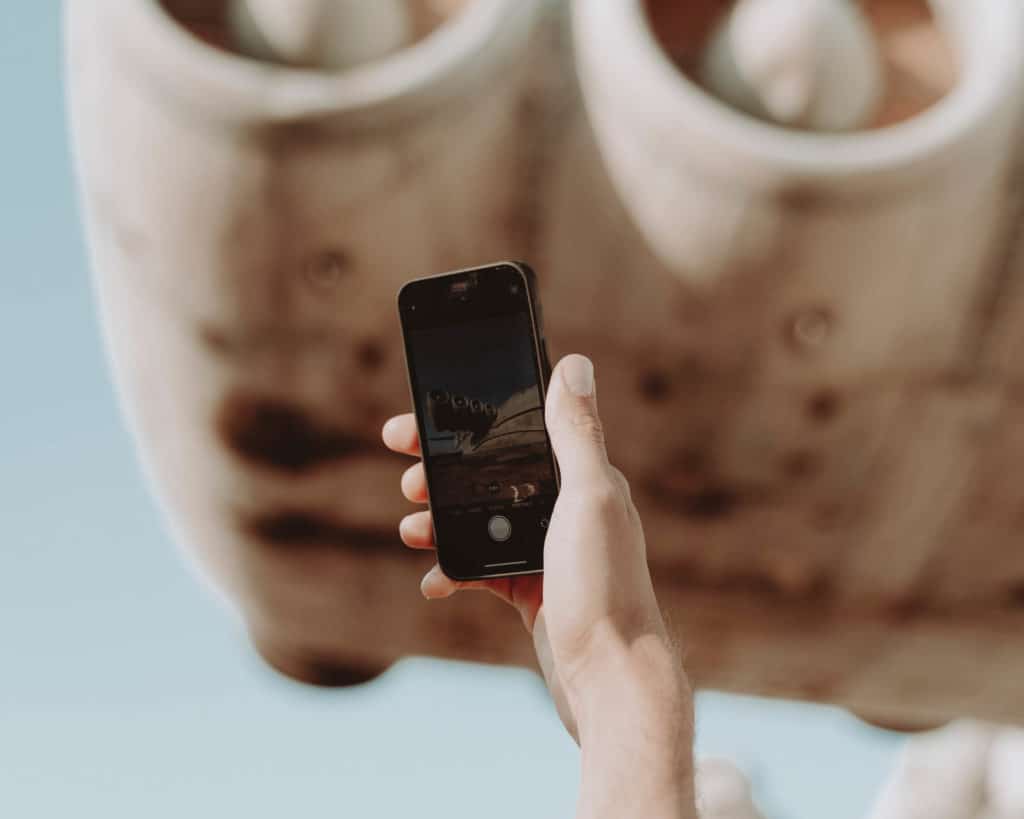
10 Tips for Better iPhone Photos
Are you looking to step up your iPhone photography game? We’ve got you covered.
1. Prevent Camera Shake by Using the Volume Button
When you take photos with the shutter on your iPhone, it doesn’t actually release until your fingered is removed from the button. To prevent any potential camera shake and blurry photos, use the volume button! You can even take photos with any volume button on any wired or wireless headphones.
2. Use Burst Mode for Action Shots
Press and hold the shutter button on your iPhone and your shutter will take up to 10 shots per second, capturing every moment in any fast-moving scene.
3. Play with Perspective
If you’re one to take photos from the same angle every time, don’t be afraid to experiment! Try getting down low or climbing up high to get a more unique shot. While it’s always easier to take a photo straight on, you’ll be glad you let your creativity run wild so that you can capture a photograph that stands out from the crowd.

4. Use HDR for More Dynamic Shots
When using HDR (high dynamic range), your iPhone will take 3 different photos, all at different exposure levels, and combine them into 1 perfectly exposed shot. With properly exposed shadows and highlights, HDR will bring out all of the best details in your photo. HDR is best used on scenes with little to no movement, such as landscapes.
5. Turn on Grid Lines and Play with Composition Using the Rule of Thirds
Creating a well-composed photograph isn’t as complicated as it might seem. And turning on your grid lines (Settings > Camera > Toggle “Grid” to ‘On’ (Green), will help. For starters, simply making sure your horizon line is straight is the #1 way to improve the composition of any photo. From there, you can play around with placing your subject off to the left or right for a more asymmetric composition, rather than sticking to a go-to centered placement.
6. Add Depth to Your Photos
Adding depth to your photos can transform an otherwise flat and basic shot into something unique. As an example, imagine you’re taking a photo of a cabin in the distance. What’s more interesting: having everything in the shot crisp and in focus? Or crouching behind a bush and blurring the leaves while the cabin and everything behind it are in focus?
The latter, right? We thought so.
You can also add depth to a photo by paying attention to leading lines. These lines (created by train tracks, roads, etc) can help you frame your shot and draw the viewer into the photo.

7. Use the Level + Tool for Overhead Shots
The next time you’re at a trendy brunch restaurant taking a photo of your meal, notice the 2 plus signs (1 yellow and 1 white) that appear in the middle of your screen. When both of them turn yellow, that means your photo is properly leveled and your overhead shot won’t be distorted.
8. Properly Exposure Your Shot
When you tap on the camera screen to focus on your subject, you’ll notice a yellow box with a sun will appear. Hold and drag your finger up to add more light or drag down to add less light.
9. Keep in Mind the Instagram Crop
The aspect ratio for vertical photos on Instagram is 4:5 and your iPhone naturally shoots at a 4:3 ratio, leaving lots of space at the top and bottom of your photo at risk of getting cropped out. To avoid any feet or heads being chopped off, always leave a little extra room on all sides of the photo.
10. Add a Little Bit of Spice to Your Photos with Lightroom Presets
Now that you know how to take better photos using your iPhone, it’s time for the fun part – editing! Whether you’re looking for an aesthetic that’s bright and clean or dark and moody, we’ve got something for you.
Check out our high-quality and easy-to-use Lightroom presets that’ll transform your photos in just one click. All you need is your phone (check!) and the FREE Lightroom mobile app. Every preset collection comes with a step-by-step instructions guide that details (with screenshots) how to download and install your preset files so, even if you’re a newbie to all things photography and editing, you’ll be feeling like a pro in no time.
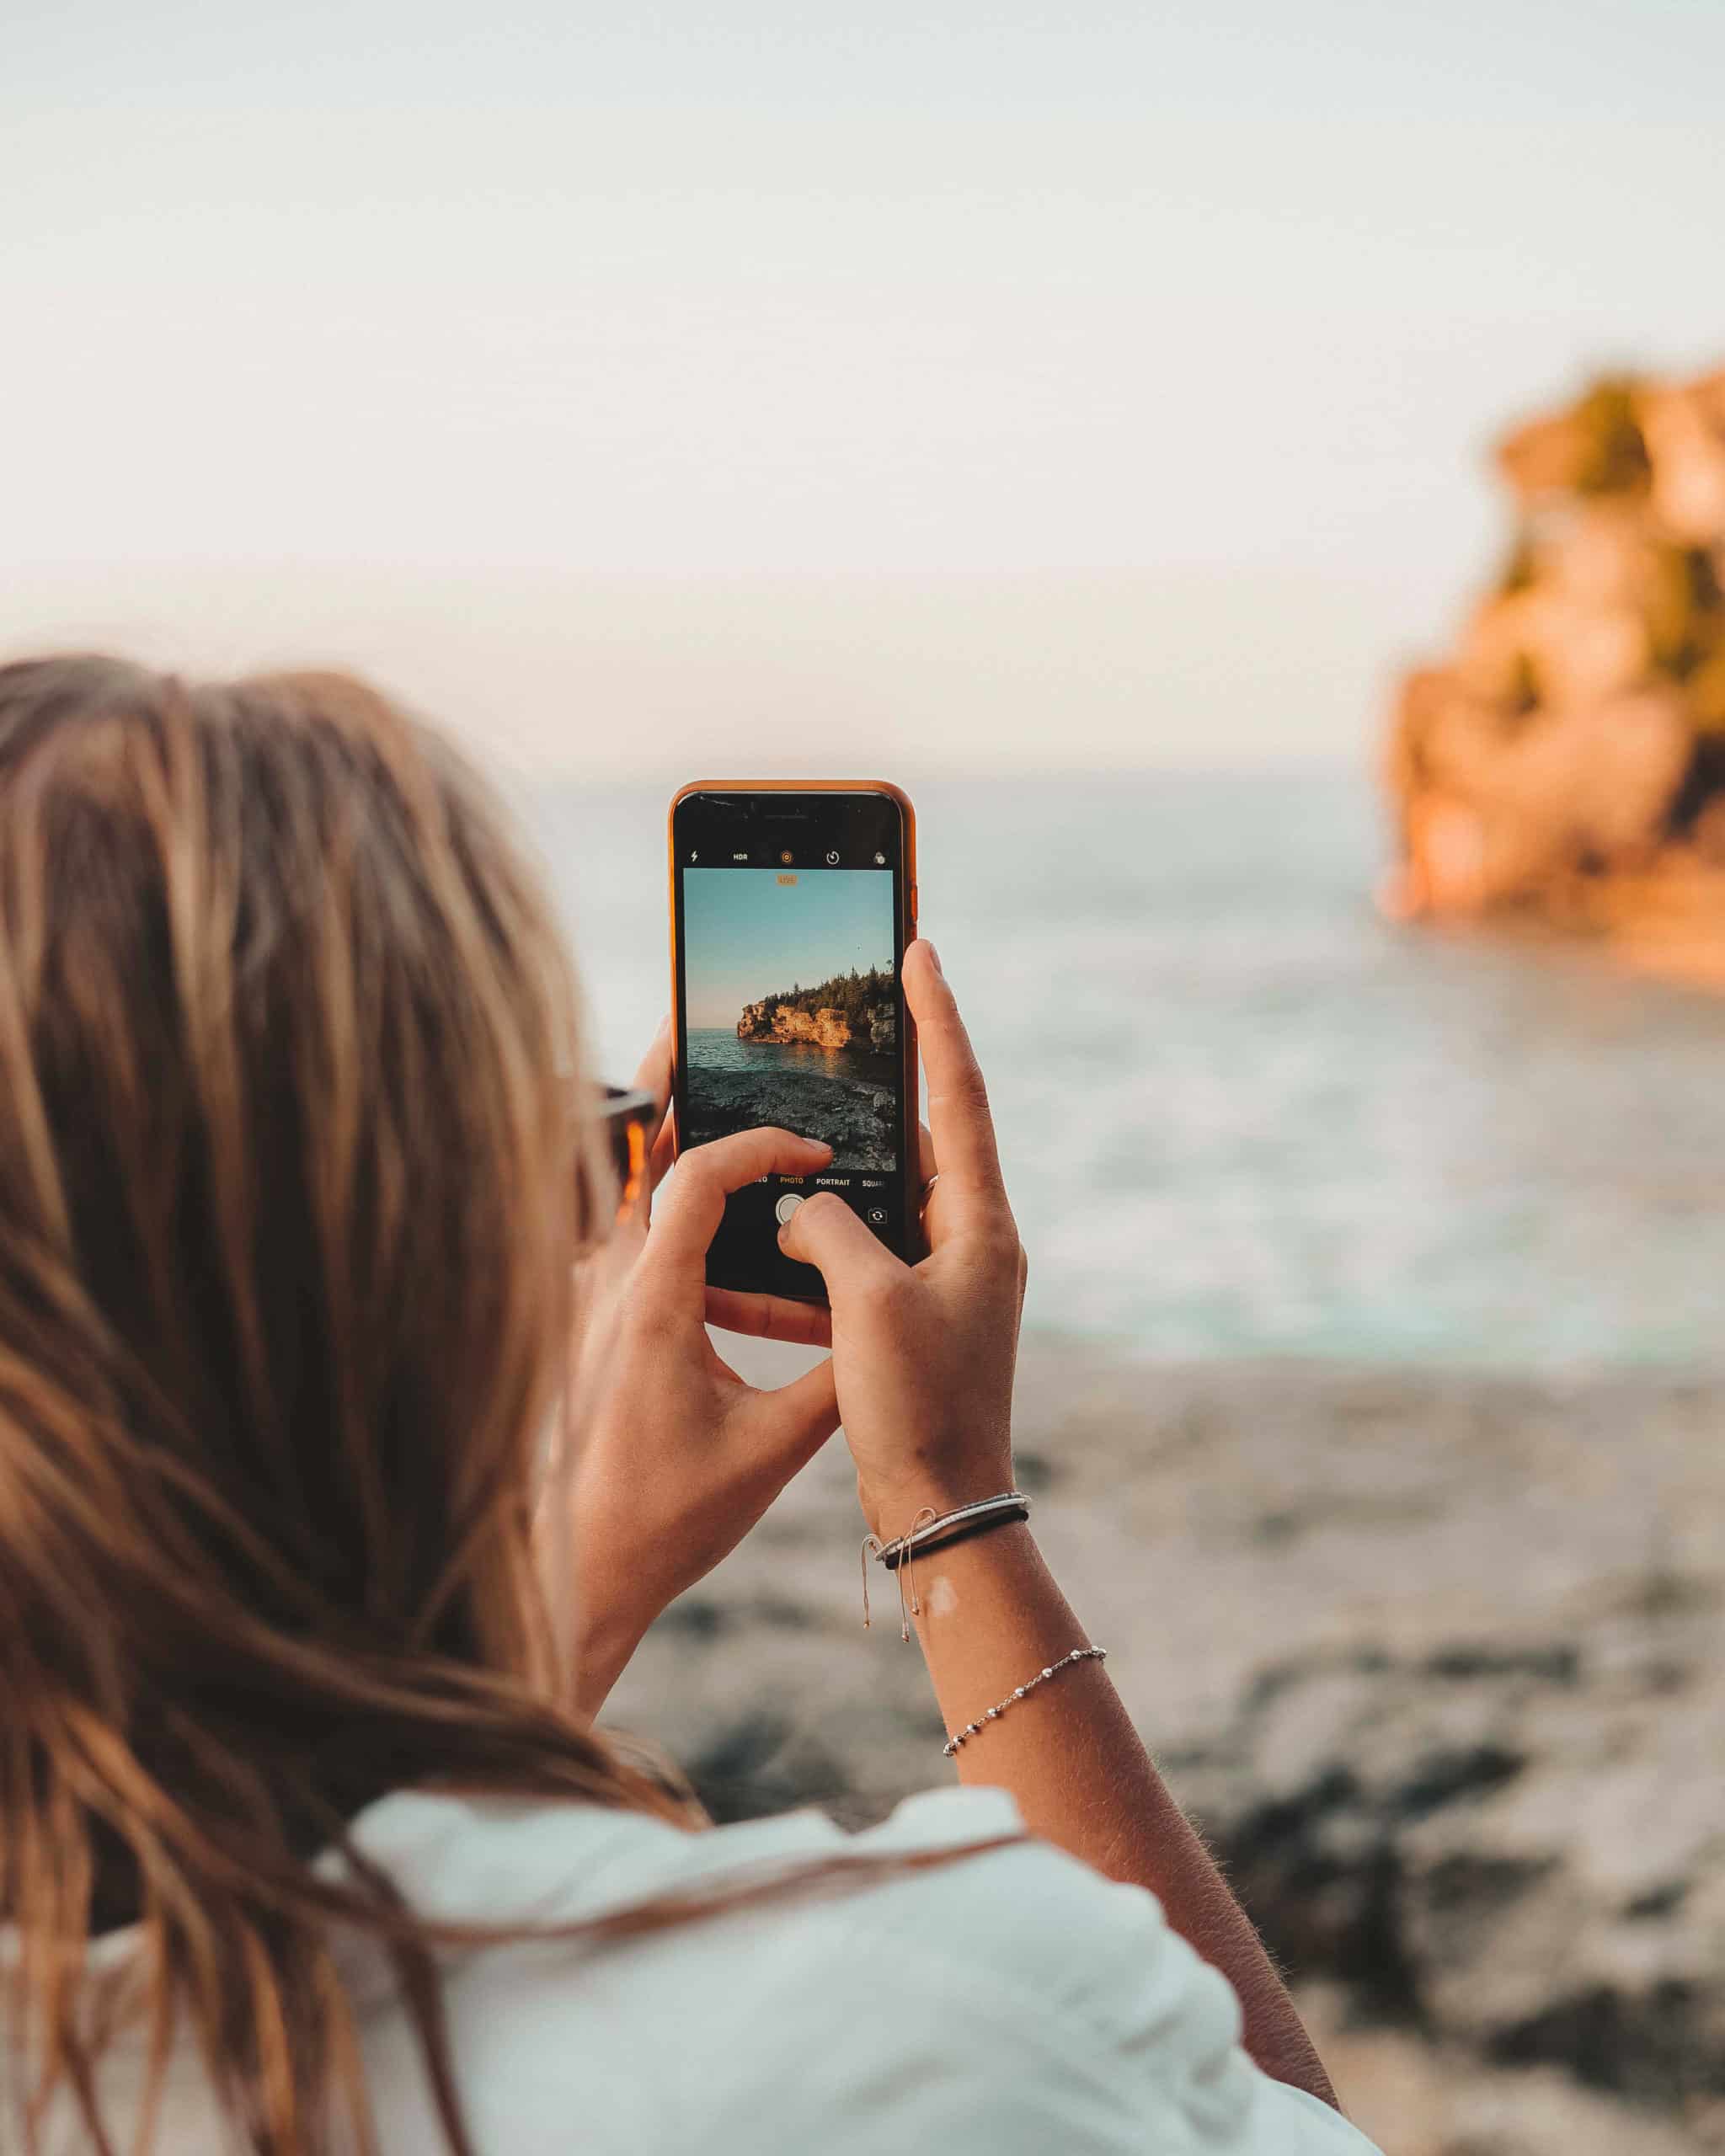
Hero image edited using the Golden Hour Collection.


